I was able to photograph hummingbirds in the weeks prior to their migration from the Southern USA to Central America. While many of the images of the birds themselves were sharp and poses were pleasing, the backgrounds I used in all but the last images were not complimentary. This serves as an excellent illustration of how important the background is to a great hummingbird photograph. Many photographers I know simply take an intentional blurred image of a natural background and then print that to a size of 18×24 or 20×30 and use that as a background. That’s an excellent idea. However, you will need your own large format printer as you will be hard pressed to find anyone that prints color images on matte paper. I have found only one such source, http://www.aspencreekphoto.com/products/prints, and they charge $25 for a 20×30 print. For me, I’d pay that if I can’t find another way to get a great background for less cost. If you are asking, “why not print on lustre paper”? I’ll answer with one simple word….sheen. The flash hitting the background will cast a sheen that will ruin your images. It must be a non reflective background.
My first attempt at a cheaper background was to purchase some fabric from a local store. While these worked in terms of a non-reflective background, they looked fake, more like portrait studio backgrounds. Did I like the images? Sure, but I wanted a more natural looking background.
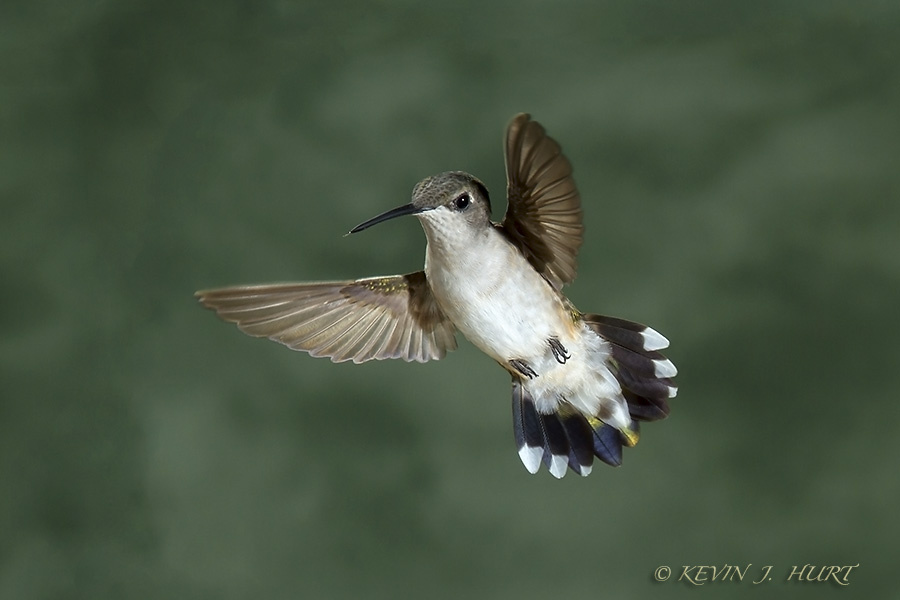
Ruby-throated Hummingbird. Canon 7D | ISO 400 | 70-200/2.8 @ 200mm | f14 | 1/160

For my next attempt, I purchased a flat matte tan paper from Hobby Lobby and some flat mat dark green, light green, and red spray paint. The paper itself cost just under $3, while each can of paint was just under $5. I then proceeded to spray lightly across the paper until I had a pleasing blend of colors (dark green, light green, tan, and red). The result was one that I really liked as the background was soft and looked natural (see image below). While my total cost thus far was about $18, I had a lot of paint that I could reuse on other backgrounds so back to hobby lobby I went.

At Hobby Lobby, I purchased a dark green, light gray, yellow, peach/orange flat matte papers from $.99 to $2.79 a piece. I already had the paint so I mixed and matched until I was pleased with the look. Why yellow and peach/orange? Well, you often see yellow, orange, and red flowers in the landscape so I thought I’d use that and let it filter through the paint. Below are images of each background I painted. All in all, less than $3 per backdrop and I have plenty to choose from next time my small feathered friends come buzzing.
While my hummingbirds are gone now, I setup and photographed as if they were here so I could assess how each background looked. I think my yellow images need some additional refinement (more green) but the others are looking good. When the spring migration comes around next year, I’ll be ready.
Until next time, good light and keep shooting. — KEVIN

Light gray prior to any spray paint.

Light gray after spray paint.

Peach/Orange prior to any spray paint.

Peach/Orange after spray paint. Maybe needs a little more green?


